- Supabase
- Lovable
- Bolt
- Cursor
- Claude Code
Connect a Fazekit app to a real database with Supabase
Demo data vs live data, tables, sign-in and Row Level Security explained in plain words — plus prompts to move a Fazekit app onto Supabase.
Intermediate 6 min read8 steps
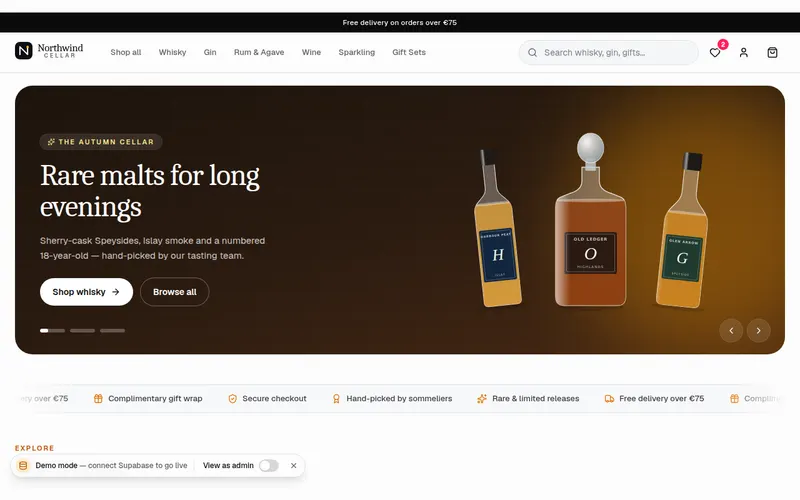
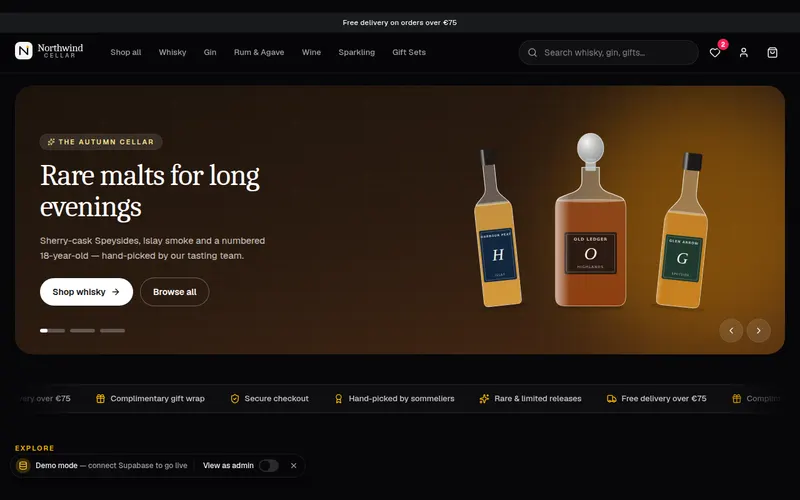
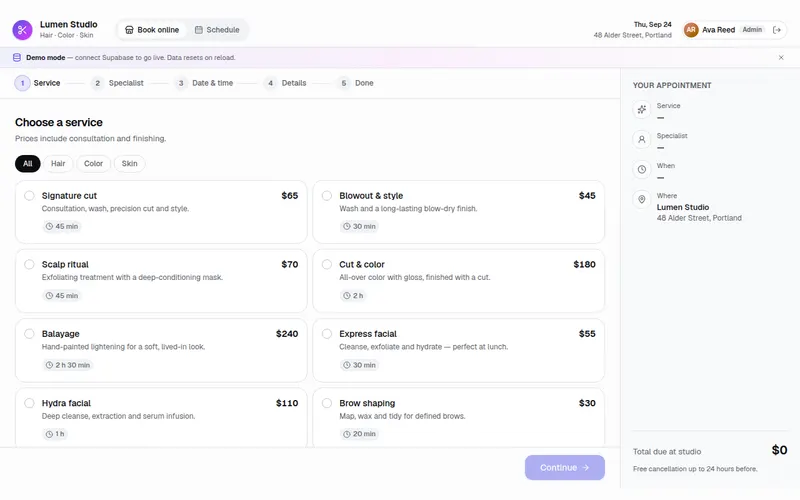
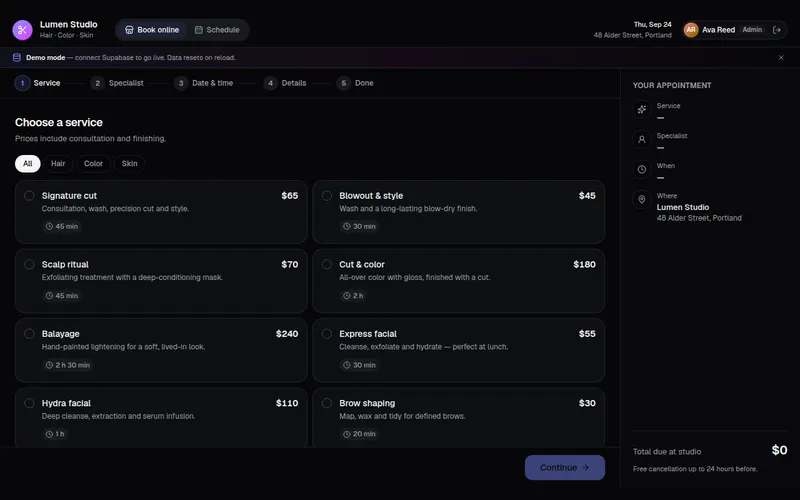
Fazekit apps are complete interfaces: the shop has products and a cart, the CRM has contacts, the booking app has time slots. But that content is demo data that lives inside the code. Change it in one browser and nobody else sees the change; refresh the page and new orders are gone.
To make an app real, you connect it to a database. Supabase is a popular choice for AI-built apps: it gives you a database, user sign-in and file storage, has a free tier, and tools like Lovable and Bolt can connect to it directly. This guide explains the ideas in plain words and gives you the prompts to do it.
What you'll build
- An understanding of tables, sign-in and security rules — enough to talk to your AI tool confidently.
- Your app reading and saving its data in Supabase instead of the demo file.
- A checklist to make sure your data is safe before you go live.
Before you start
- A Fazekit app already added to your project (for example the Online Store).
- A free Supabase account (supabase.com).
- About an hour. Take it slowly — this is the part where real data is involved.
Step 1: Demo data vs live data
Open your app's files and you'll usually find one called
data.ts. It's a list of products, customers or events written directly in the code. That's demo data: great for designing, but fixed and the same for everyone.Live data lives in a database on a server. Every visitor sees the same up-to-date content, new orders are saved, and you can change products without editing code.
Step 2: Four words you need to know
- Table
- Like a spreadsheet tab:
products,orders,customers. Each row is one thing (one product), each column is one detail (name, price, photo). - Auth
- Sign-in. Supabase keeps a list of users and handles passwords, magic links and “Sign in with Google” so your app doesn't have to.
- RLS
- Row Level Security — rules on each table that decide who may read or change which rows. For example: “anyone can read products”, “a customer can only see their own orders”.
- Keys
- Your app talks to Supabase with a project URL and a key. The public key (called anon or publishable at the time of writing) is meant for the browser and is only safe together with RLS. The secret key (service role) bypasses all rules and must never be in your website's code.
Step 3: Create a Supabase project
- Sign in to Supabase and create a new project. Choose a region close to your customers.
- Save the database password somewhere safe (a password manager). You rarely need it, but you can't see it again later.
- Wait a minute or two until the project is ready.
If you build in Lovable or Bolt, look for their built-in Supabase connection instead of copying keys by hand — at the time of writing both offer one. It links your project and lets the AI create tables for you. In Cursor or Claude Code, you'll copy the project URL and public key from Supabase's project settings into a
.envfile.Step 4: Let the AI plan your tables
Don't create tables by hand. Ask the AI to read the demo data and propose a structure first — and to explain it before changing anything:
Plan first I want to move this app from demo data to Supabase. Look at the demo data files and the types, then propose the database tables and columns we need. Explain each table in one sentence and list the security (RLS) rules you would add. Don't change any code yet.
Read the answer. Does every table make sense to you? Ask about anything unclear — “why do we need an
order_itemstable?” is a perfectly good question.Step 5: Create the tables and switch the app over
Do it Good, go ahead. Create the tables with RLS enabled, import the demo data as starting content, and change the app so it reads from Supabase instead of the demo files. Show a loading state while data loads and a friendly message if it fails. Keep the design exactly the same.
Then check the app: it should look the same as before. Open the table editor in Supabase, change a product's price, refresh your app — the new price should appear. That's live data.
Step 6: Add sign-in (only if you need it)
A simple shop can work without accounts — guests just check out. You need sign-in when people must see their own things: order history, saved addresses, a dashboard.
Add sign-in Add sign-in with Supabase Auth using email magic links. Add a small account menu in the header with “Sign in” / “My orders” / “Sign out”. Update the RLS rules so signed-in users can only read their own orders.
Step 7: Payments are a separate step
A database stores orders; it doesn't charge cards. For that you need a payment provider such as Stripe. Payments must be created on a server (for example a Supabase Edge Function), never in the browser, because they use a secret key.
Fazekit's full-stack kits ship the tables, security rules, server functions and payments ready-made: the Online Store kit (Supabase + Stripe checkout, customer accounts, admin panel) and the Booking kit (appointments with no double-booking, reminder emails). Each kit includes a step-by-step README for Lovable and Bolt.
Step 8: Safety check before going live
Security review Review the Supabase setup for security. For every table, tell me whether RLS is enabled and what each rule allows, in plain words. Check that no secret or service-role key is used in browser code. List anything that anonymous visitors can read or change.
- Every table has RLS enabled.
- Anonymous visitors can only read what's meant to be public (products, not orders).
- No secret keys in the code that runs in the browser.
- You've tested with a second account that one user can't see another user's data.
Keep going
Start from an app
Pick a Fazekit app, build it with your AI tool, then come back to this guide to connect it.
Open Online Store — Build with AINext guide
Add Fazekit to Claude Code and Cursor with MCP
Connect the Fazekit MCP server so your coding agent can search the catalog and install components, blocks and apps just by asking.
← All guides·Last reviewed 24 September 2026